
Ever wondered why restaurant fried chicken has that irresistible crunch that homemade versions rarely achieve? After countless test batches and consulting professional chefs, I’ve finally cracked the code to creating that perfect golden crust with juicy, flavor-packed meat inside. The secret lies in the science of buttermilk—that magical ingredient that transforms ordinary chicken into a crave-worthy masterpiece. This isn’t just another fried chicken recipe; it’s a foolproof method that addresses every common pitfall and delivers consistent, spectacular results every single time. Whether you’re a first-time fryer intimidated by hot oil or a seasoned cook looking to elevate your game, these game-changing techniques will revolutionize your fried chicken forever. Get ready for the crispiest, juiciest fried chicken you’ve ever made—the kind that will have family and friends convinced you’ve been keeping professional cooking secrets from them.

Why You’ll Love This Recipe
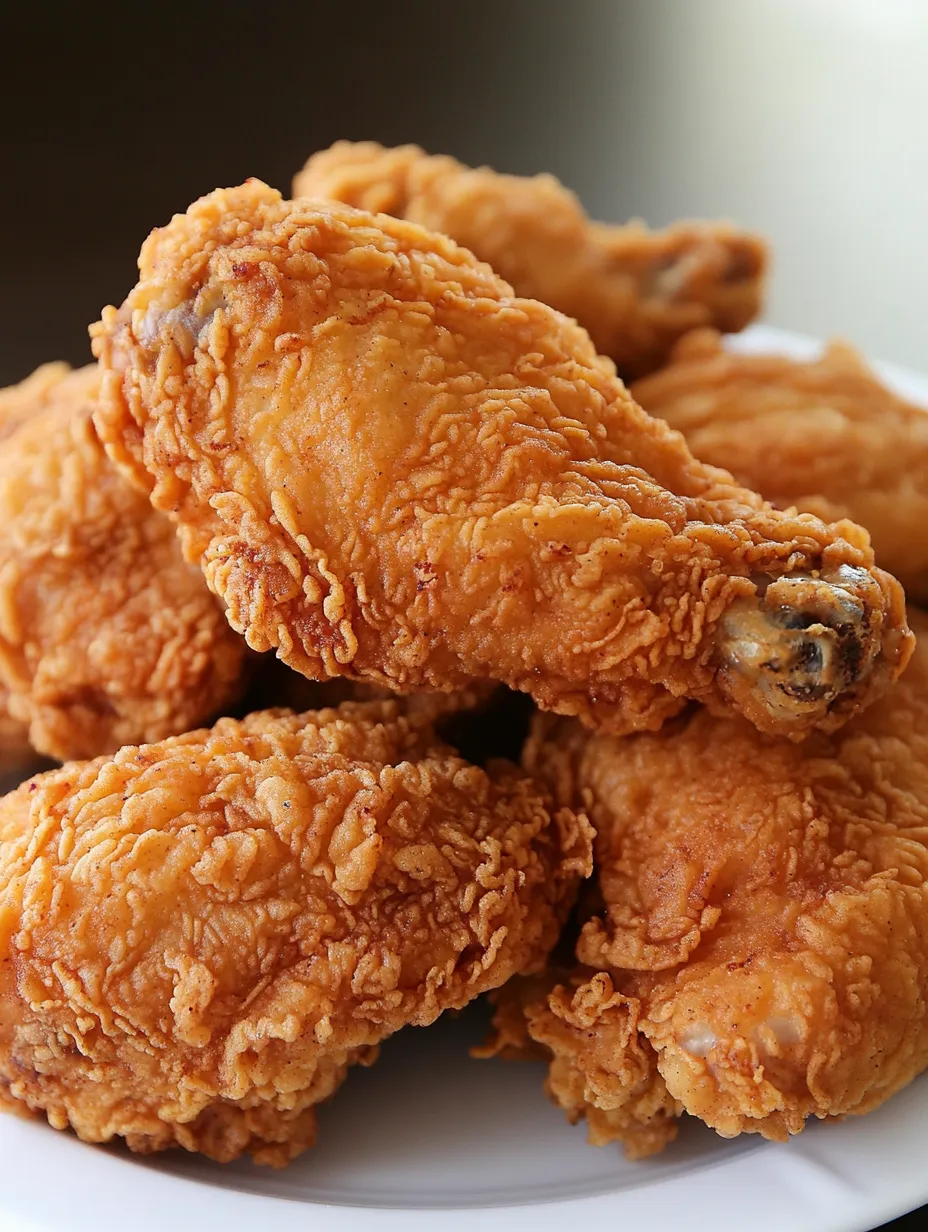
Let’s face it—fried chicken should deliver that perfect textural contrast: a shatteringly crisp exterior giving way to tender, juicy meat that practically melts in your mouth. Unfortunately, most homemade versions fall short, ending up either soggy, greasy, bland, or worst of all, undercooked. This recipe solves all those problems through science-backed techniques that professional chefs actually use.
First, the buttermilk marinade does double duty—its lactic acid tenderizes the chicken by gently breaking down proteins while its thick consistency helps your coating stick better. According to food scientists, this acid-based marinade penetrates meat at a rate of about 1/4 inch per 24 hours, which explains why overnight marination yields such remarkable results in both texture and flavor.
Beyond perfect texture, this recipe delivers on flavor complexity. Rather than just seasoning the coating, we’re building flavor in layers—in the marinade, in the flour mixture, and even with a final touch after frying. This multi-layered approach ensures that every bite delivers a perfect balance of savory, slightly spicy, and subtly tangy notes.
Best of all, this method eliminates the guesswork. By using simple equipment checks and visual cues, you’ll know exactly when your chicken is perfectly cooked—no more cutting into pieces to check doneness or ending up with burnt coating and raw centers. Even first-timers can achieve restaurant-worthy results with these detailed guidelines.
Ingredients and Equipment
For the Buttermilk Marinade:
- 3 cups buttermilk (full-fat works best)
- 2 tablespoons kosher salt (not table salt)
- 1 tablespoon hot sauce (like Frank’s RedHot or Louisiana)
- 1 tablespoon garlic powder
- 1 tablespoon onion powder
- 1 teaspoon black pepper
For the Chicken:
- 3-4 pounds bone-in, skin-on chicken pieces (thighs, drumsticks, and breast quarters work best)
- 3 cups all-purpose flour
- 1/3 cup cornstarch (the secret to extra crispiness)
- 1 tablespoon baking powder (helps create a lighter crust)
- 2 tablespoons kosher salt
- 1 tablespoon paprika
- 2 teaspoons garlic powder
- 2 teaspoons onion powder
- 1 teaspoon dried thyme
- 1 teaspoon black pepper
- 1/2 teaspoon cayenne pepper (adjust to taste)
- Neutral oil for frying (peanut, vegetable, or canola)
Essential Equipment:
- Large heavy-bottomed pot or deep cast-iron skillet
- Instant-read thermometer (for both oil and chicken)
- Wire cooling rack set over a baking sheet
- Kitchen tongs (preferably 12-inch)
- Paper towels
The Foolproof Method
Step 1: Prepare the Marinade (12-24 hours ahead) Whisk together all marinade ingredients in a large bowl or container. Add chicken pieces, ensuring they’re fully submerged. Cover and refrigerate for at least 12 hours, but preferably 24 hours for optimal flavor and tenderness.
Step 2: Set Up Your Dredging Station An hour before cooking, remove chicken from refrigerator to take the chill off. Prepare your dredging station by whisking together flour, cornstarch, baking powder, and all seasonings in a large bowl. Set aside 1 cup of fresh buttermilk in a separate bowl.
Step 3: The Double-Dredge Technique This is where the magic happens! Remove each piece of chicken from the marinade, allowing excess to drip off. Dredge in the flour mixture, pressing firmly to create craggy bits. Dip briefly in the reserved buttermilk, then back into the flour mixture for a second coating. Place on a wire rack and repeat with remaining pieces. Let the coated chicken rest for 15 minutes—this allows the coating to properly adhere.
Step 4: Heat the Oil Fill your pot or skillet with oil to a 2-inch depth and heat to exactly 350°F (175°C). Working in batches (never overcrowd), carefully lower 3-4 pieces of chicken into the oil. The temperature will drop—maintain it at 325-335°F (163-168°C) throughout cooking.
Step 5: Monitor and Maintain Fry dark meat (thighs and drumsticks) for 12-14 minutes, turning occasionally, until golden brown and internal temperature reaches 175°F (80°C). Fry white meat (breasts) for 10-12 minutes until internal temperature reaches 165°F (74°C). Transfer to a clean wire rack—never paper towels, which trap steam and create sogginess.
Step 6: Rest and Serve Allow chicken to rest for 10 minutes before serving. This redistributes juices and helps maintain crispiness. Serve with your favorite sides like mashed potatoes, coleslaw, or biscuits.

Tips and Variations
For Even Crispier Results:
- Add 1 tablespoon of vodka to your buttermilk marinade—the alcohol evaporates quickly during frying, creating an even crispier crust
- https://www.recipegap.com/homemade-butter-chicken-recipe/Double-fry your chicken: first at 325°F until cooked through, rest for 30 minutes, then fry again at 375°F for 2-3 minutes for maximum crunch
Flavor Variations:
- Nashville Hot: After frying, brush with a mixture of melted butter, cayenne, brown sugar, paprika, and garlic powder
- Lemon Herb: Add lemon zest, thyme, and rosemary to your marinade
- Honey Butter: Brush freshly fried chicken with honey butter and sprinkle with flaky sea salt for a sweet-savory finish
- Buttermilk Ranch: Add a ranch seasoning packet to your flour mixture
Troubleshooting Common Issues:
- Coating falls off: Your oil isn’t hot enough or you didn’t let the coated chicken rest before frying
- Too dark outside, raw inside: Your oil is too hot; lower the temperature and extend cooking time
- Greasy chicken: Allow oil to return to proper temperature between batches and ensure you’re draining on a wire rack, not paper towels
Storing and Reheating Leftovers
Despite what many believe, fried chicken can maintain its crispy glory even as leftovers—if handled correctly. First, allow chicken to cool completely before refrigerating in a single layer in a container lined with paper towels. Store for up to 3 days.
Best Reheating Methods:
- Oven method (best for maintaining crispiness): Preheat to 400°F (200°C). Place chicken on a wire rack over a baking sheet and heat for 15-20 minutes until internal temperature reaches 120°F (49°C).
- Air fryer method (quickest): Preheat to 375°F (190°C) and heat for 4-5 minutes until crispy and warmed through.
- Avoid microwaving at all costs unless you enjoy soggy, rubbery chicken.
For picnics or potlucks, fried chicken is actually delicious served at room temperature—many Southern cooks prefer it this way!
Frequently Asked Questions
Why buttermilk specifically? Can I substitute regular milk? Buttermilk’s acidity is key to tenderizing the chicken and helping the coating adhere. If you don’t have buttermilk, make your own by adding 1 tablespoon of lemon juice or vinegar to 1 cup of milk and letting it sit for 10 minutes. However, real buttermilk produces noticeably better results in side-by-side tests.
Is it better to use fresh or frozen chicken? Fresh chicken yields superior results, but if using frozen, ensure it’s completely thawed and patted dry before marinating. Excess moisture is the enemy of crispy chicken.
How many times can I reuse frying oil? With proper handling, you can reuse oil 3-4 times. After cooking, let oil cool completely, strain through a fine-mesh sieve lined with cheesecloth, and store in an airtight container in a cool, dark place. Discard if it smells rancid or looks significantly darker.
Conclusion
Perfect buttermilk fried chicken isn’t just about following a recipe—it’s about understanding the techniques that transform ordinary ingredients into something extraordinary. The overnight buttermilk marinade, double-dredge coating, proper temperature control, and appropriate resting time aren’t just suggestions—they’re essential steps that guarantee success.
While this method isn’t the quickest way to get dinner on the table, it represents cooking at its most rewarding: the perfect balance of science and soul that creates unforgettable food experiences. Master these techniques, and you’ll never again wonder why restaurant fried chicken tastes better than homemade—because yours will be even better.
So next weekend, when you’re craving something truly special, pull out this recipe, embrace the process, and prepare for the satisfaction that comes from watching family and friends experience that first perfect, crispy, juicy bite. Some traditions are worth the extra effort, and homemade buttermilk fried chicken is definitely one of them.