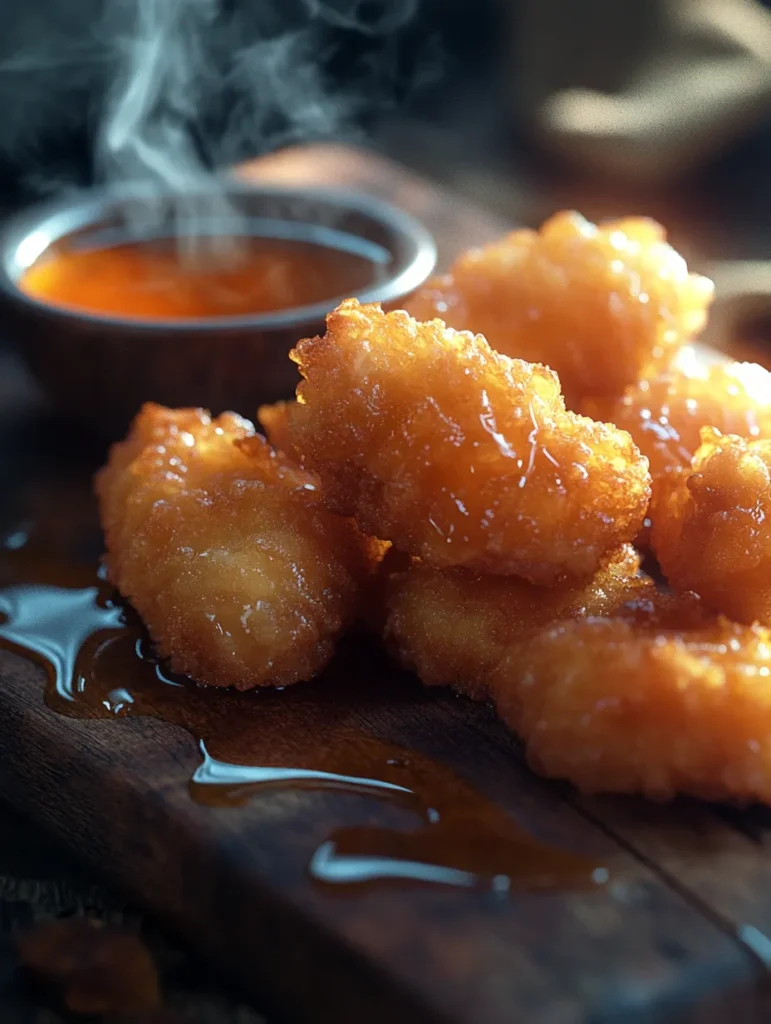
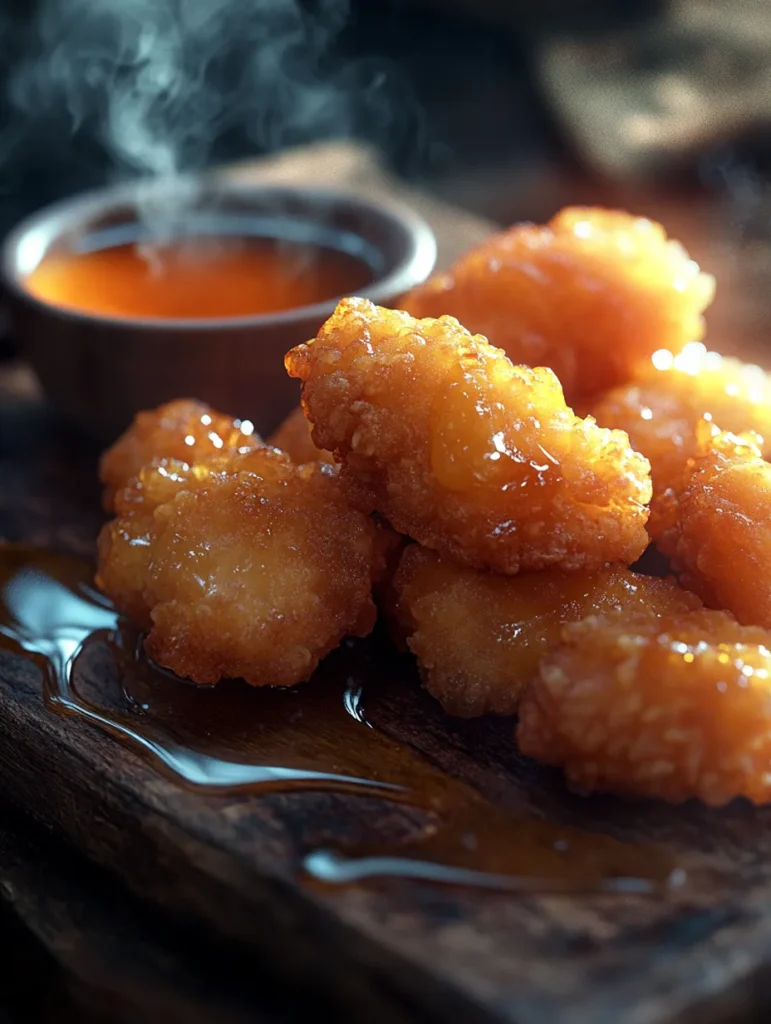
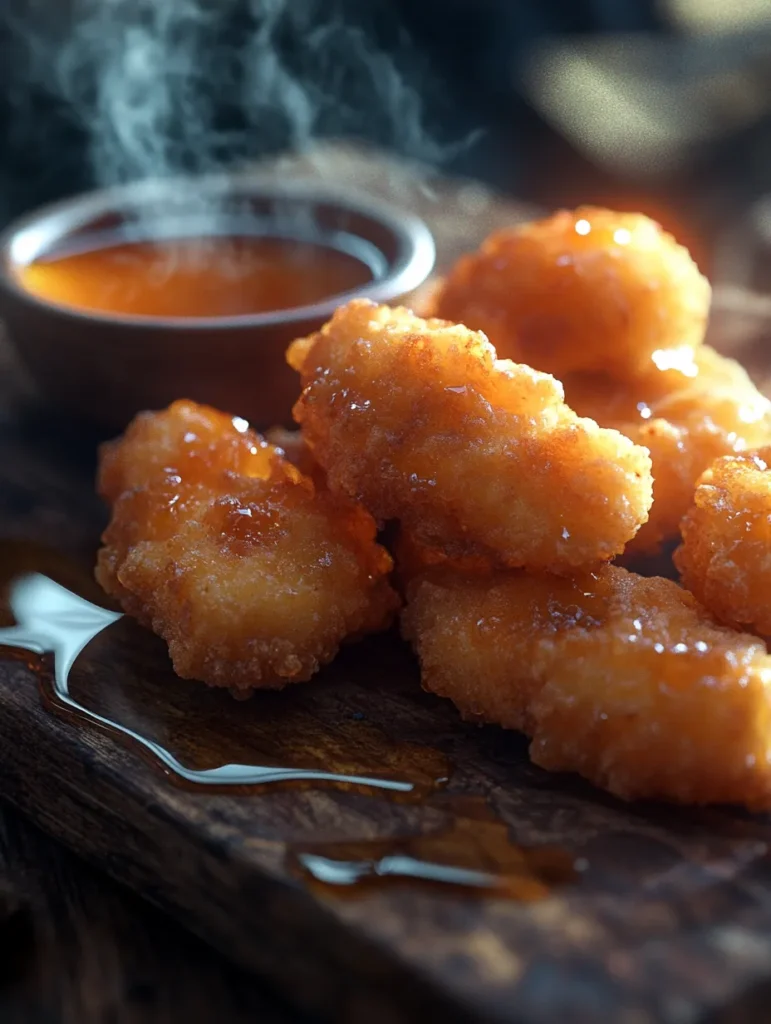
Nothing evokes genuine comfort like the unmistakable crunch of perfectly fried chicken giving way to juicy, tender meat beneath. This isn’t just another recipe—it’s your gateway to achieving restaurant-quality buttermilk fried chicken at home. The time-tested combination of tangy buttermilk brine and perfectly seasoned coating creates a flavor explosion that will transport you straight to Southern comfort food heaven. Ready to unlock the secrets?
Why You’ll Love This Recipe
This recipe transforms ordinary chicken into a mind-blowing culinary experience that’ll have everyone begging for seconds. The buttermilk not only infuses incredible tanginess but actually tenderizes the meat through its natural acidity. My double-dredge technique guarantees that satisfying, shatteringly crisp crust that stays crunchy for hours. Even better—it’s surprisingly forgiving for beginners while delivering professional results that’ll make you feel like a kitchen superstar!

Ingredients and Equipment
For the Buttermilk Marinade:
- 3-4 pounds chicken pieces (mixture of thighs, drumsticks, wings, and breasts)
- 2 cups buttermilk (full-fat works best)
- 2 tablespoons hot sauce (like Tabasco or Frank’s RedHot)
- 1 tablespoon kosher salt
- 2 teaspoons garlic powder
- 2 teaspoons onion powder
- 1 teaspoon smoked paprika
- 1 teaspoon black pepper
For the Seasoned Flour:
- 2½ cups all-purpose flour
- 1 tablespoon kosher salt
- 2 teaspoons baking powder (crucial for extra crispiness!)
- 2 teaspoons garlic powder
- 2 teaspoons onion powder
- 2 teaspoons paprika
- 1 teaspoon cayenne pepper (adjust to taste)
- 1 teaspoon dried thyme
- 1 teaspoon black pepper
Equipment You’ll Need:
- Large mixing bowl for marinade
- Large shallow dish for dredging
- Cast iron skillet or heavy-bottomed pot (at least 10-inches wide)
- Cooking thermometer
- Tongs
- Wire cooling rack
- Paper towels
- Baking sheet

Cooking Method
Step 1: Prepare the Buttermilk Marinade (12-24 hours ahead) Whisk together buttermilk, hot sauce, salt, garlic powder, onion powder, paprika, and black pepper in a large bowl until well combined. Submerge chicken pieces completely in the mixture, cover tightly, and refrigerate overnight or at least 12 hours. This extended marinade time is non-negotiable for truly remarkable flavor and tenderness!
Step 2: Set Up Your Dredging Station About 30 minutes before cooking, remove the chicken from the refrigerator to take the chill off. In a large shallow dish, thoroughly mix the flour with salt, baking powder, garlic powder, onion powder, paprika, cayenne, thyme, and black pepper. Set up your workstation with the marinated chicken, seasoned flour, and a wire rack set over a baking sheet.
Step 3: Master the Double-Dredge Technique Take a piece of chicken from the buttermilk, allowing excess to drip off. Dredge thoroughly in the flour mixture, pressing firmly to create a textured surface. Quickly dip back into the buttermilk, then return to the flour for a second dredging, really pressing the coating onto the chicken. This double-dredge creates those incredible craggy bits that become extra crispy. Place on the wire rack and repeat with remaining pieces.
Step 4: Heat Your Oil Properly Pour vegetable oil into your cast iron skillet to a depth of about 1½ inches. Heat over medium-high until the oil reaches 350°F (175°C). The right temperature is absolutely critical—too low and your chicken absorbs grease, too high and it burns before cooking through.
Step 5: Fry to Golden Perfection Carefully place 3-4 pieces of chicken in the hot oil, skin-side down, being careful not to overcrowd the pan. Maintain the oil temperature between 325-350°F throughout cooking. Fry for about 7-8 minutes on the first side until deeply golden brown, then flip and cook for another 7-8 minutes until the internal temperature reaches 165°F for white meat and 175°F for dark meat.
Step 6: Drain and Rest (Don’t Skip This!) Transfer the fried chicken to a clean wire rack set over a baking sheet. Let rest for at least 10 minutes before serving—this crucial resting period allows juices to redistribute and the coating to set up for maximum crispiness.

Common Mistakes to Avoid & How to Perfect the Recipe
Mistake #1: Rushing the marinade The buttermilk needs time to work its magic! The lactic acid gradually breaks down proteins, resulting in noticeably more tender meat. Anything less than 8 hours leaves flavor and texture on the table.
Mistake #2: Inconsistent oil temperature Fluctuating temperatures ruin fried chicken. Too low (below 325°F) and your chicken absorbs excess oil, creating a greasy mess. Too high (above 375°F) and you’ll get a burnt exterior with raw interior. Invest in a good thermometer and monitor constantly.
Mistake #3: Overcrowding the pan Adding too many pieces at once dramatically drops your oil temperature and creates steam, leading to soggy coating. Be patient and fry in small batches, even if it takes longer.
Mistake #4: Skipping the double-dredge That extra dip creates texture heaven! Those craggy bits that form during the second dredge create more surface area for ultimate crispiness. Don’t rush this step.
You Must Know
The secret to truly exceptional buttermilk fried chicken lies in the details. The baking powder in the flour mixture creates tiny bubbles when it hits the hot oil, resulting in a lighter, crispier coating. Always pat your chicken pieces dry before the first dredge for better coating adhesion. For the juiciest results, bone-in, skin-on pieces are vastly superior to boneless options. Consider brining your chicken in salted water for 3 hours before the buttermilk marinade if using store-bought chicken for extra juiciness.
Serving Ideas
Elevate your fried chicken experience with these perfect pairings:
- Classic Southern sides: mac and cheese, collard greens, and flaky buttermilk biscuits
- Modern twist: drizzle with hot honey or truffle honey for a sweet-heat combination
- Brunch sensation: serve alongside fluffy waffles with maple syrup for the ultimate chicken and waffles
- Picnic perfection: cold fried chicken with potato salad and coleslaw
- Healthier balance: fresh corn salad and vinegar-based slaw to cut through the richness
Tips and Variations
- Extra crispy hack: Add 2 tablespoons of cornstarch to your flour mixture for an even crunchier coating.
- Flavor boost: Infuse your buttermilk with fresh herbs like thyme, rosemary, or sage overnight before using it to marinate.
- Heat customization: Adjust cayenne from ¼ teaspoon (mild) to 2 teaspoons (fiery) based on your preference.
- Nashville hot variation: After frying, brush with a mixture of cayenne-infused hot oil for authentic Nashville hot chicken.
- Gluten-free adaptation: Substitute all-purpose flour with a one-to-one gluten-free baking blend and add ¼ teaspoon xanthan gum.
- Oven-fried option: After double-dredging, spray generously with oil and bake at 425°F on a preheated baking sheet for 35-40 minutes, flipping halfway through.

Storing and Reheating Leftovers
Properly stored fried chicken will maintain quality for up to 4 days in the refrigerator. Allow chicken to cool completely before placing in an airtight container lined with paper towels to absorb excess moisture.
For reheating that actually maintains crispiness, avoid the microwave at all costs! Instead:
- Let chicken come to room temperature for 20 minutes
- Place on a wire rack over a baking sheet
- Reheat in a 375°F oven for 15-20 minutes until heated through and re-crisped
Pro tip: Many fried chicken enthusiasts actually prefer it cold straight from the fridge—the flavors concentrate overnight for a uniquely satisfying experience.
FAQ: Crispy Buttermilk Fried Chicken
Q1: Why is buttermilk important for fried chicken?
Buttermilk is essential for exceptional fried chicken because its natural acidity tenderizes the meat by breaking down protein structures. The tangy flavor enhances the chicken’s taste profile, while its thick consistency helps the coating adhere better to the chicken pieces, resulting in that perfect crispy exterior everyone loves.
Q2: How long should I marinate chicken in buttermilk?
For best results, marinate your chicken in buttermilk for at least 4 hours, though overnight marination (8-24 hours) yields optimal tenderness and flavor. The longer marination time allows the acids in buttermilk to fully tenderize the meat and infuse flavor throughout the chicken pieces, creating juicier, more flavorful fried chicken.
Q3: What’s the best oil temperature for frying chicken?
The ideal oil temperature for frying chicken is between 325°F and 350°F (163°C-177°C). This temperature range allows the chicken to cook thoroughly without burning the exterior coating. Always use a kitchen thermometer to monitor the oil temperature, as maintaining consistent heat ensures evenly cooked, perfectly crispy chicken with a juicy interior.
Q4: Can I make crispy fried chicken without a deep fryer?
Yes, you can absolutely make crispy buttermilk fried chicken without a deep fryer. A heavy-bottomed cast iron skillet or Dutch oven works exceptionally well for home frying. Fill the pan with about 1-2 inches of oil, maintain the proper temperature, and fry the chicken in batches to avoid overcrowding, which can lower the oil temperature and result in soggy coating.
Q5: How do I keep fried chicken crispy after cooking?
To maintain crispiness after cooking, place your fried chicken on a wire rack over a baking sheet rather than on paper towels, which can trap steam and soften the coating. If serving later, keep the chicken warm in a 200°F (93°C) oven on a wire rack. For reheating, use an oven or air fryer at 375°F (190°C) for 10-15 minutes to restore the crispy exterior without drying out the meat.
Conclusion
Mastering buttermilk fried chicken isn’t just about following a recipe—it’s about understanding the science behind what makes each bite so irresistible. The perfect balance of tanginess from the buttermilk marinade, the shatteringly crisp exterior from proper dredging technique, and juicy interior from careful temperature control all come together in this foolproof method. By avoiding common pitfalls and embracing these time-tested techniques, you’re not just making dinner—you’re creating memorable food experiences that will have friends and family raving. What started as a simple craving will become your signature dish, requested at every gathering. So heat that oil, get those seasonings ready, and prepare for fried chicken that rivals any restaurant offering!

