
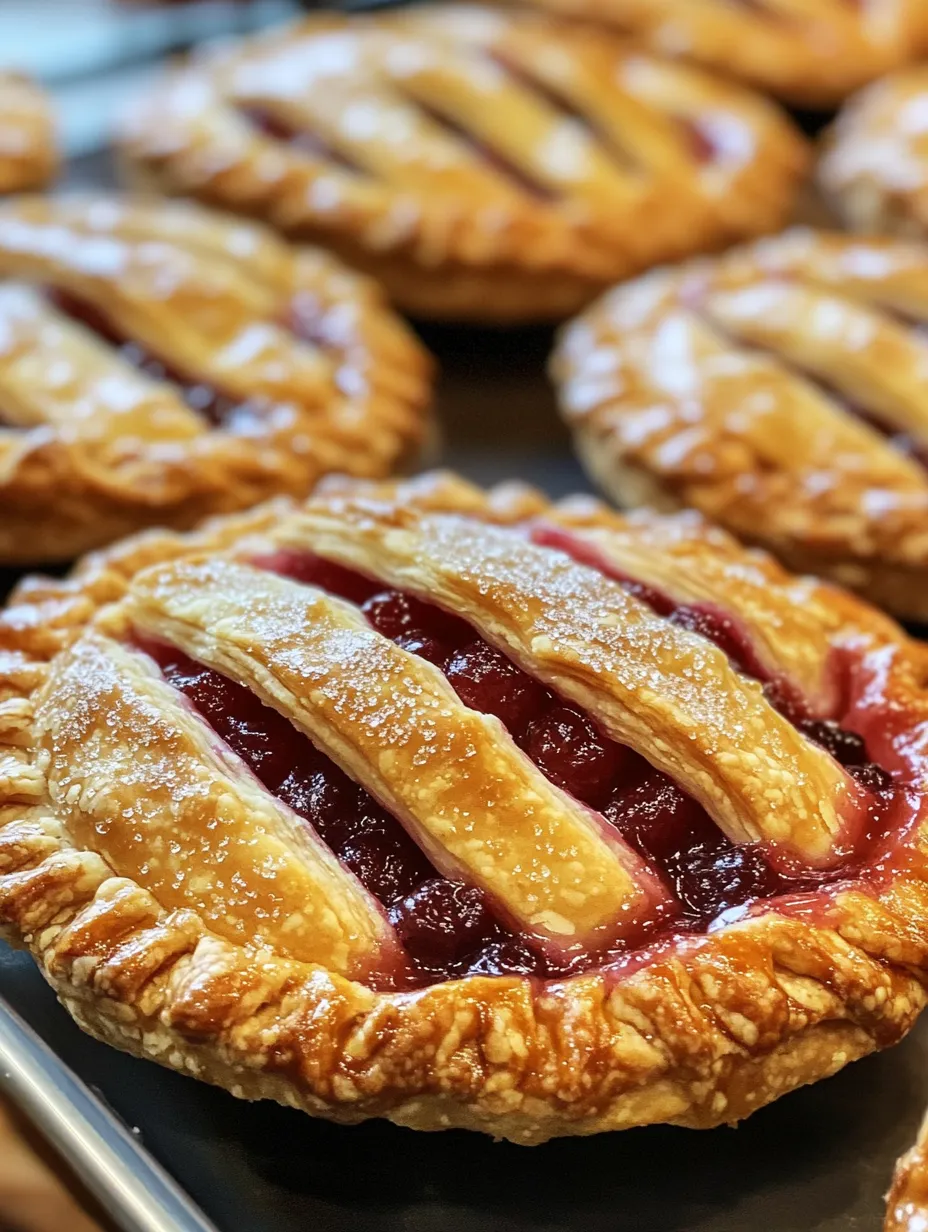
Cherry Hand Pies feature sweet cherry filling encased in flaky, golden pastry that you can enjoy without utensils. These portable treats combine the best elements of pie with the convenience of a turnover and take just 30 minutes of prep time!
Why You’ll Love Homemade Cherry Hand Pies
These delightful Cherry Hand Pies will quickly become your favorite portable dessert! The combination of buttery, flaky pastry with sweet-tart cherry filling creates an irresistible treat that’s perfect for picnics, lunchboxes, or on-the-go snacking. Unlike traditional pies, these hand-held versions eliminate the need for plates and forks, making them ideal for casual gatherings and outdoor events. Plus, they’re surprisingly simple to make with store-bought or homemade pie crust options. The recipe is incredibly versatile, allowing you to customize fillings based on seasonal fruits, and the individual portions help with built-in portion control!
Cherry Hand Pies Ingredients
For the Crust:
- 2½ cups all-purpose flour
- 1 tablespoon granulated sugar
- 1 teaspoon salt
- 1 cup (2 sticks) cold unsalted butter, cubed
- ½ cup ice water (you may not need it all)
- 1 tablespoon white vinegar or lemon juice (for extra tenderness)
Note: You can substitute store-bought refrigerated pie crusts for convenience
For the Cherry Filling:
- 2½ cups fresh pitted cherries or frozen cherries, thawed and drained
- ⅓ cup granulated sugar (adjust based on sweetness of cherries)
- 2 tablespoons cornstarch
- 1 tablespoon fresh lemon juice
- ¼ teaspoon almond extract
- ⅛ teaspoon ground cinnamon
- Pinch of salt
For the Egg Wash and Finishing:
- 1 large egg, beaten with 1 tablespoon water
- 2 tablespoons coarse sugar for sprinkling
- Optional: ½ cup powdered sugar mixed with 1-2 teaspoons milk for glaze
Tools Used to Make Cherry Hand Pies
- Food processor or pastry cutter
- Rolling pin
- Mixing bowls (various sizes)
- Cherry pitter (if using fresh cherries)
- 3½-inch round cookie cutter or drinking glass
- Baking sheets
- Parchment paper
- Pastry brush
- Fork
- Small paring knife
- Wire cooling rack
- Measuring cups and spoons
How to Make Cherry Hand Pies
For the Pastry:
- Prepare the dough: In a food processor, pulse together flour, sugar, and salt. Add cold butter cubes and pulse until mixture resembles coarse crumbs with some pea-sized pieces remaining.
- Add liquid: With processor running, slowly add vinegar and just enough ice water until dough starts to come together (about 4-6 tablespoons).
- Form and chill: Turn dough onto a floured surface, divide into two portions, shape into disks, wrap in plastic, and refrigerate for at least 1 hour or up to 3 days.
For the Cherry Filling:
- Prepare cherries: If using fresh cherries, pit and halve them. If using frozen, ensure they’re fully thawed and drained.
- Cook the filling: In a medium saucepan, combine cherries, sugar, cornstarch, lemon juice, almond extract, cinnamon, and salt. Cook over medium heat, stirring frequently, until mixture boils and thickens (about 5-7 minutes).
- Cool completely: Transfer to a bowl and refrigerate until fully cooled, at least 30 minutes.
Assembly:
- Preheat your oven to 375°F (190°C). Line baking sheets with parchment paper.
- Roll the dough: On a floured surface, roll one disk of dough to about ⅛-inch thickness. Using a 3½-inch round cutter, cut as many circles as possible. Re-roll scraps once to cut additional circles.
- Fill the pies: Place 1 tablespoon of cooled cherry filling in the center of each dough circle.
- Seal edges: Brush the edges with egg wash, fold in half to create a half-moon shape, and press firmly to seal. Crimp edges with a fork.
- Prepare for baking: Transfer to prepared baking sheets. Cut 2-3 small slits on top of each pie for steam to escape. Brush tops with egg wash and sprinkle with coarse sugar.
- Bake: Place in preheated oven and bake for 20-25 minutes until golden brown.
- Cool and finish: Let pies cool on baking sheets for 5 minutes, then transfer to a wire rack. Drizzle with optional glaze if desired.
Variations of Cherry Hand Pies
- Mixed Berry Cherry: Combine cherries with blueberries, raspberries, or blackberries for a mixed berry version.
- Cherry Almond: Add ¼ cup finely chopped almonds to the filling and top with sliced almonds before baking.
- Cherry Cream Cheese: Place a small spoonful of sweetened cream cheese on the dough before adding cherry filling.
- Cherry Chocolate: Add 2 tablespoons mini chocolate chips to the filling or drizzle finished pies with melted chocolate.
- Savory Cherry: Reduce sugar and add herbs like thyme or rosemary and a pinch of black pepper for a savory-sweet option.
- Cherry Pie Squares: Instead of circles, cut dough into squares for a different shape and easier assembly.
- Fried Cherry Pies: For a state fair treat, seal smaller portions in dough circles and fry in hot oil until golden.
Serving Cherry Hand Pies
These delicious Cherry Hand Pies are perfect on their own as a portable dessert or snack. For a more indulgent treat, serve warm with a scoop of vanilla ice cream or a dollop of freshly whipped cream. They’re ideal for picnics, potlucks, bake sales, or tucked into lunchboxes as a sweet surprise.
Cherry Hand Pies pair beautifully with coffee or tea for an afternoon treat. For a special brunch offering, serve alongside a Breakfast Grilled Cheese or Cheesy Potato Egg Scramble. These portable pies also make excellent desserts following a meal of California Turkey Club Wraps or other casual fare.
Frequently Asked Questions
Can I use canned cherry pie filling instead of making my own?
Yes! For a quicker version, you can use about 1½ cups of canned cherry pie filling. Just be aware that homemade filling typically has a fresher flavor and allows you to control the sweetness.
How long do cherry hand pies stay fresh?
Store cooled cherry hand pies in an airtight container at room temperature for up to 2 days or refrigerate for up to 5 days. For longer storage, freeze baked and cooled pies for up to 3 months.
Can I make the dough and filling ahead of time?
Absolutely! The pie dough can be made up to 3 days in advance and stored in the refrigerator, or frozen for up to 3 months. The cherry filling can be prepared and refrigerated for up to 5 days before assembling.
My hand pies are leaking during baking. What am I doing wrong?
Leaking usually occurs when the edges aren’t sealed properly or when the filling is too hot/wet. Make sure to cool your filling completely, don’t overfill the pies, and press the edges firmly with a fork to create a good seal.
Can I make these with other fruits?
Yes! This recipe works wonderfully with other fruits like blueberries, peaches, apples, or strawberries. Just adjust the sugar based on the sweetness of your fruit.
Final Thoughts
These Cherry Hand Pies deliver all the satisfaction of a traditional pie in a convenient, portable package. Their delicious taste and charming appearance make them perfect for sharing with friends and family at your next gathering!
More Recipes to Try!
- Easy Carrot Cake Bars
- Orange Cream Sicle Pie
- Copycat Crumbl Salted Caramel Cheesecake
- Funnel Cake Bites Recipe
- Delicious Cruffins
- Hawaiian Roll French Toast
- Ultimate 5-Layer Strawberry Shortcake Cheesecake
- Easy Salted Caramel Pretzel Bark
- Lemon Blueberry Trifle
- Strawberry Lemon Blondies
WANT TO TRY THIS Homemade Cherry Hand Pies RECIPE?
PIN IT TO YOUR SUMMER, TO SAVE FOR LATER!
FIND ME ON PINTEREST FOR MORE GREAT RECIPES! I AM ALWAYS PINNING :)!