
There are few things more comforting than the aroma of homemade bread wafting through your kitchen. This sweet condensed milk bread has become my go-to recipe when I want something special without spending hours in the kitchen. The first time I made it, I was genuinely surprised at how such simple ingredients could create something so luxuriously soft and flavorful.
Table of Contents
I discovered this recipe during a particularly busy week when I craved homemade bread but didn’t have the time for complicated techniques. The condensed milk was a last-minute substitution when I ran out of sugar, and that happy accident turned into a family favorite that’s now requested at every gathering.
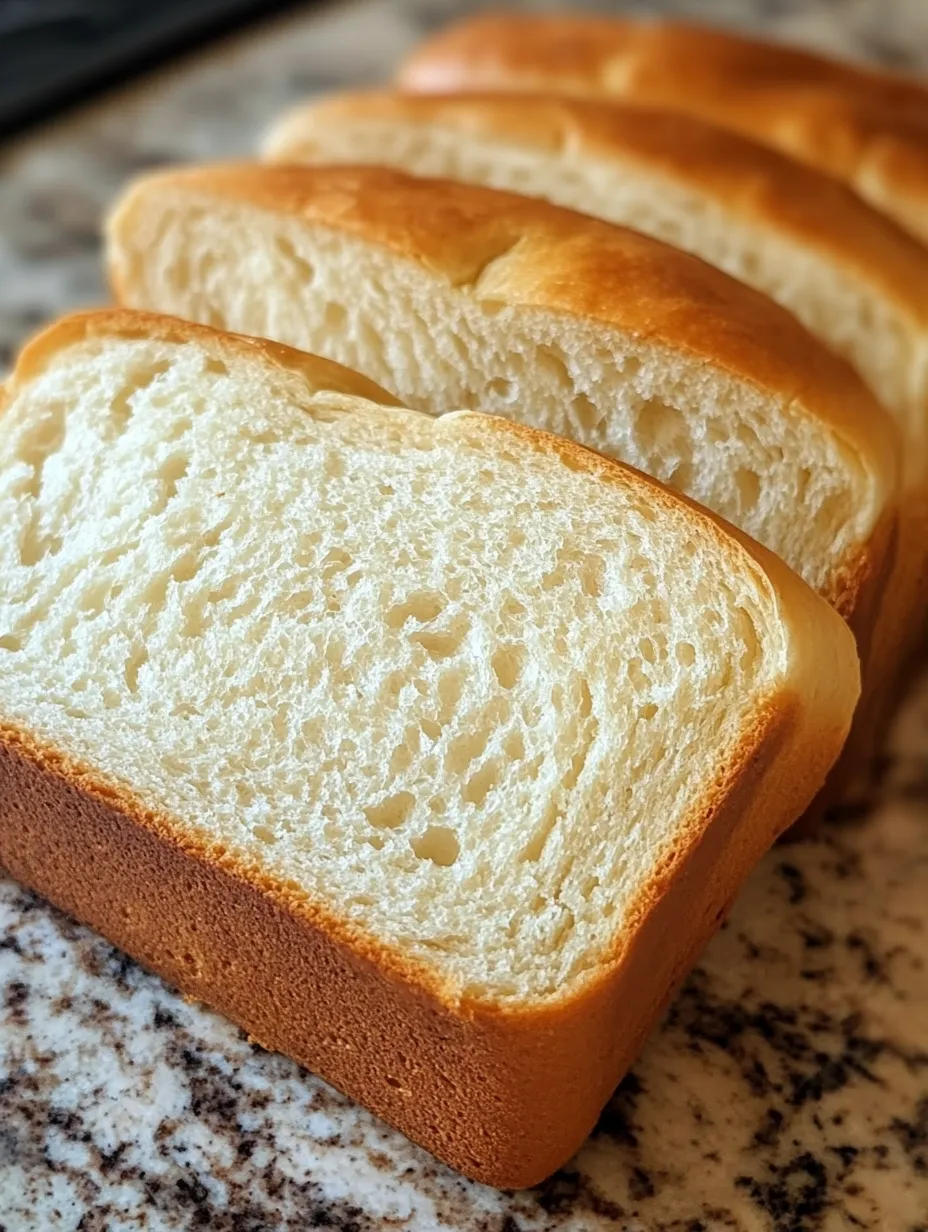
![Image 1: Featured Image – Finished Sweet Condensed Milk Bread]
Ingredients
For the Bread Dough:
- 3½ cups all-purpose flour (plus extra for dusting)
- 2¼ teaspoons active dry yeast (1 standard packet)
- ½ teaspoon salt
- ⅔ cup sweetened condensed milk
- ¼ cup unsalted butter, melted and cooled
- 2 large eggs (1 for the dough, 1 for egg wash)
- ½ cup warm water (about 110°F)
- 1 teaspoon vanilla extract (optional but recommended)
For the Topping/Glaze (Optional):
- 2 tablespoons sweetened condensed milk
- 1 tablespoon warm water
- Pearl sugar or sliced almonds for decoration

Kitchen Equipment You’ll Need
- Stand mixer with dough hook (or mixing bowl if kneading by hand)
- Measuring cups and spoons
- 9-inch loaf pan or round cake pan (for round loaf)
- Mixing bowls
- Pastry brush for egg wash
- Kitchen thermometer (optional)
- Clean kitchen towel
- Cooling rack
The Method
Preparing the Dough
- In a small bowl, combine the warm water (110°F – just warm to the touch, not hot) and yeast. Let it sit for about 5 minutes until foamy. This tells you your yeast is alive and active.
- In the bowl of your stand mixer, combine 3 cups of the flour and salt, whisking them together.
- Add the sweetened condensed milk, melted butter, 1 egg, vanilla extract (if using), and the activated yeast mixture to the flour.
- Using the dough hook attachment, mix on low speed until the ingredients come together, about 1-2 minutes.
- Increase speed to medium-low and continue kneading for 7-8 minutes until the dough becomes smooth and elastic. The dough should pull away from the sides of the bowl but still be slightly sticky. If it’s too sticky, add the remaining flour, a tablespoon at a time, until it reaches the right consistency.
- If kneading by hand, turn the dough onto a lightly floured surface and knead for about 10 minutes until smooth and elastic.
- Form the dough into a ball and place it in a lightly oiled bowl. Turn the dough once to coat it with oil.
- Cover with a clean kitchen towel or plastic wrap and let it rise in a warm, draft-free place for 1-1½ hours, or until doubled in size. I often place mine near a sunny window or in the oven with just the light turned on (not the heat).
Shaping the Bread
- Once the dough has doubled in size, gently punch it down to release the air bubbles.
- Turn the dough onto a lightly floured surface and divide it into 3 or 4 equal portions, depending on how you want to shape your loaf.
- For a classic braided loaf:
- Roll each portion into a long rope, about a foot in length.
- Pinch the three ropes together at one end.
- Braid the ropes together, just like braiding hair.
- Tuck both ends underneath to create a neat loaf.
- For pull-apart rolls:
- Divide the dough into 8-12 equal pieces.
- Form each piece into a smooth ball by pulling the dough downward and pinching at the bottom.
- Arrange the balls in a greased 9-inch round cake pan or loaf pan, leaving a little space between each for rising.
- Place your shaped dough in a greased 9-inch loaf pan for a standard loaf, or on a parchment-lined baking sheet if making a freestanding braided loaf.
- Cover again with the kitchen towel and let it rise for another 45-60 minutes, or until noticeably puffy and almost doubled.
Baking Your Bread
- About 20 minutes before the second rise is complete, preheat your oven to 350°F.
- Beat the remaining egg with 1 tablespoon of water to create an egg wash.
- Once the bread has finished its second rise, gently brush the top with the egg wash. This gives the bread a beautiful golden-brown shine when baked.
- If desired, sprinkle with pearl sugar or sliced almonds for decoration.
- Bake in the preheated oven for 25-30 minutes, until the bread is golden brown and sounds hollow when tapped on the bottom. If the top is browning too quickly, loosely cover with aluminum foil.
- If you want to check for doneness with a thermometer, the internal temperature should reach about 190°F.
- Remove from the oven and let cool in the pan for 10 minutes. Then transfer to a wire rack to cool completely.
Optional Sweet Glaze
For an extra touch of sweetness after baking:
- Mix 2 tablespoons of sweetened condensed milk with 1 tablespoon of warm water in a small bowl.
- While the bread is still warm (but not hot), brush this glaze over the top.
- Allow the glaze to set before slicing the bread.
Serving Suggestions
This sweet condensed milk bread is versatile enough to enjoy in many ways:
- Freshly sliced with a pat of butter for breakfast
- Lightly toasted with a drizzle of honey
- As the base for an indulgent French toast
- Alongside a cup of coffee or tea for an afternoon treat
- As dinner rolls with a hearty soup or stew
- For making exceptional sandwiches (particularly good with ham)
Storage Tips
This bread stays fresh longer than many homemade breads thanks to the condensed milk and butter content. To store:
- Keep in an airtight container or bread bag at room temperature for up to 3 days.
- For longer storage, freeze sliced bread for up to 3 months in a freezer-safe container.
- To refresh: warm room temperature bread in a 300°F oven for 5-7 minutes, or toast frozen slices directly from the freezer.
Variations to Try
Once you master the basic recipe, consider these delicious variations:
- Cinnamon Swirl: Roll the dough into a rectangle, spread with butter, cinnamon, and brown sugar, then roll up and place in the loaf pan.
- Chocolate Chip: Fold in 1/2 cup mini chocolate chips during the final minutes of kneading.
- Citrus Zest: Add 1 tablespoon of orange or lemon zest to the dough for a bright flavor.
- Coconut: Replace 1/4 cup of the flour with shredded coconut and brush the top with coconut milk instead of egg wash.
- Matcha: Add 1-2 tablespoons of matcha powder to the flour for a beautiful green tea bread.
Frequently Asked Questions
Can I use unsweetened condensed milk or evaporated milk instead?
No, these products are quite different. Sweetened condensed milk contains sugar that contributes to the bread’s flavor and texture. If using evaporated milk, you’ll need to add 1/3 cup of sugar to the recipe.
Why is my bread not as soft as expected?
The most common reason is overbaking or using too much flour. This bread should be removed from the oven when just golden, and the dough should be slightly sticky during preparation. Also, make sure your yeast is fresh and active.
Can I make this bread with a bread machine?
Yes! Add the ingredients in the order recommended by your bread machine manufacturer. Use the sweet bread setting for mixing and first rise, then remove to shape by hand and complete the second rise and baking in the oven for best results.
How can I tell when my bread is perfectly baked?
The bread should be golden brown on top, sound hollow when tapped on the bottom, and register between 185-190°F on an instant-read thermometer inserted into the center. The baking time can vary based on your oven and the shape of your loaf.
Can I prepare the dough ahead of time?
Yes, you can refrigerate the dough after the first rise. Punch it down, cover tightly, and refrigerate for up to 24 hours. When ready to bake, remove from the refrigerator, shape the dough, and allow it to come to room temperature and complete its second rise (about 1-2 hours) before baking.

Conclusion
This sweet condensed milk bread has become my reliable standby when I want to impress family and friends without spending hours in the kitchen. The condensed milk creates a richness and tenderness that’s hard to achieve with regular sugar, and the subtle sweetness makes it perfect for both sweet and savory applications.
Don’t stress if your first attempt isn’t picture-perfect—each loaf develops character as you become more familiar with handling the dough. The most important part is enjoying the process and the delicious reward at the end. There’s something deeply satisfying about pulling a golden loaf from your oven, knowing you created it from scratch.
If you make this recipe, I’d love to hear about your experience and any creative variations you try. Happy baking!